👀 Accessing IPMI Virtual Console
Accessing the Virtual Console may prove useful for some users. You are able to directly connect to your server to view a visual output. You are also able to modify BIOS settings if may be.
We are able to provide you with a VPN profile you are wanting to access via your local computer, instead of via the NoVNC Console. Please contact us.
- Press the Console button

After a few moments, a new window will open. From here, it will launch an applet with your console.
dangerThe next couple of steps will vary per server brand. For the most part, this will stay the same type of process. Please contact us if you are having any troubles.
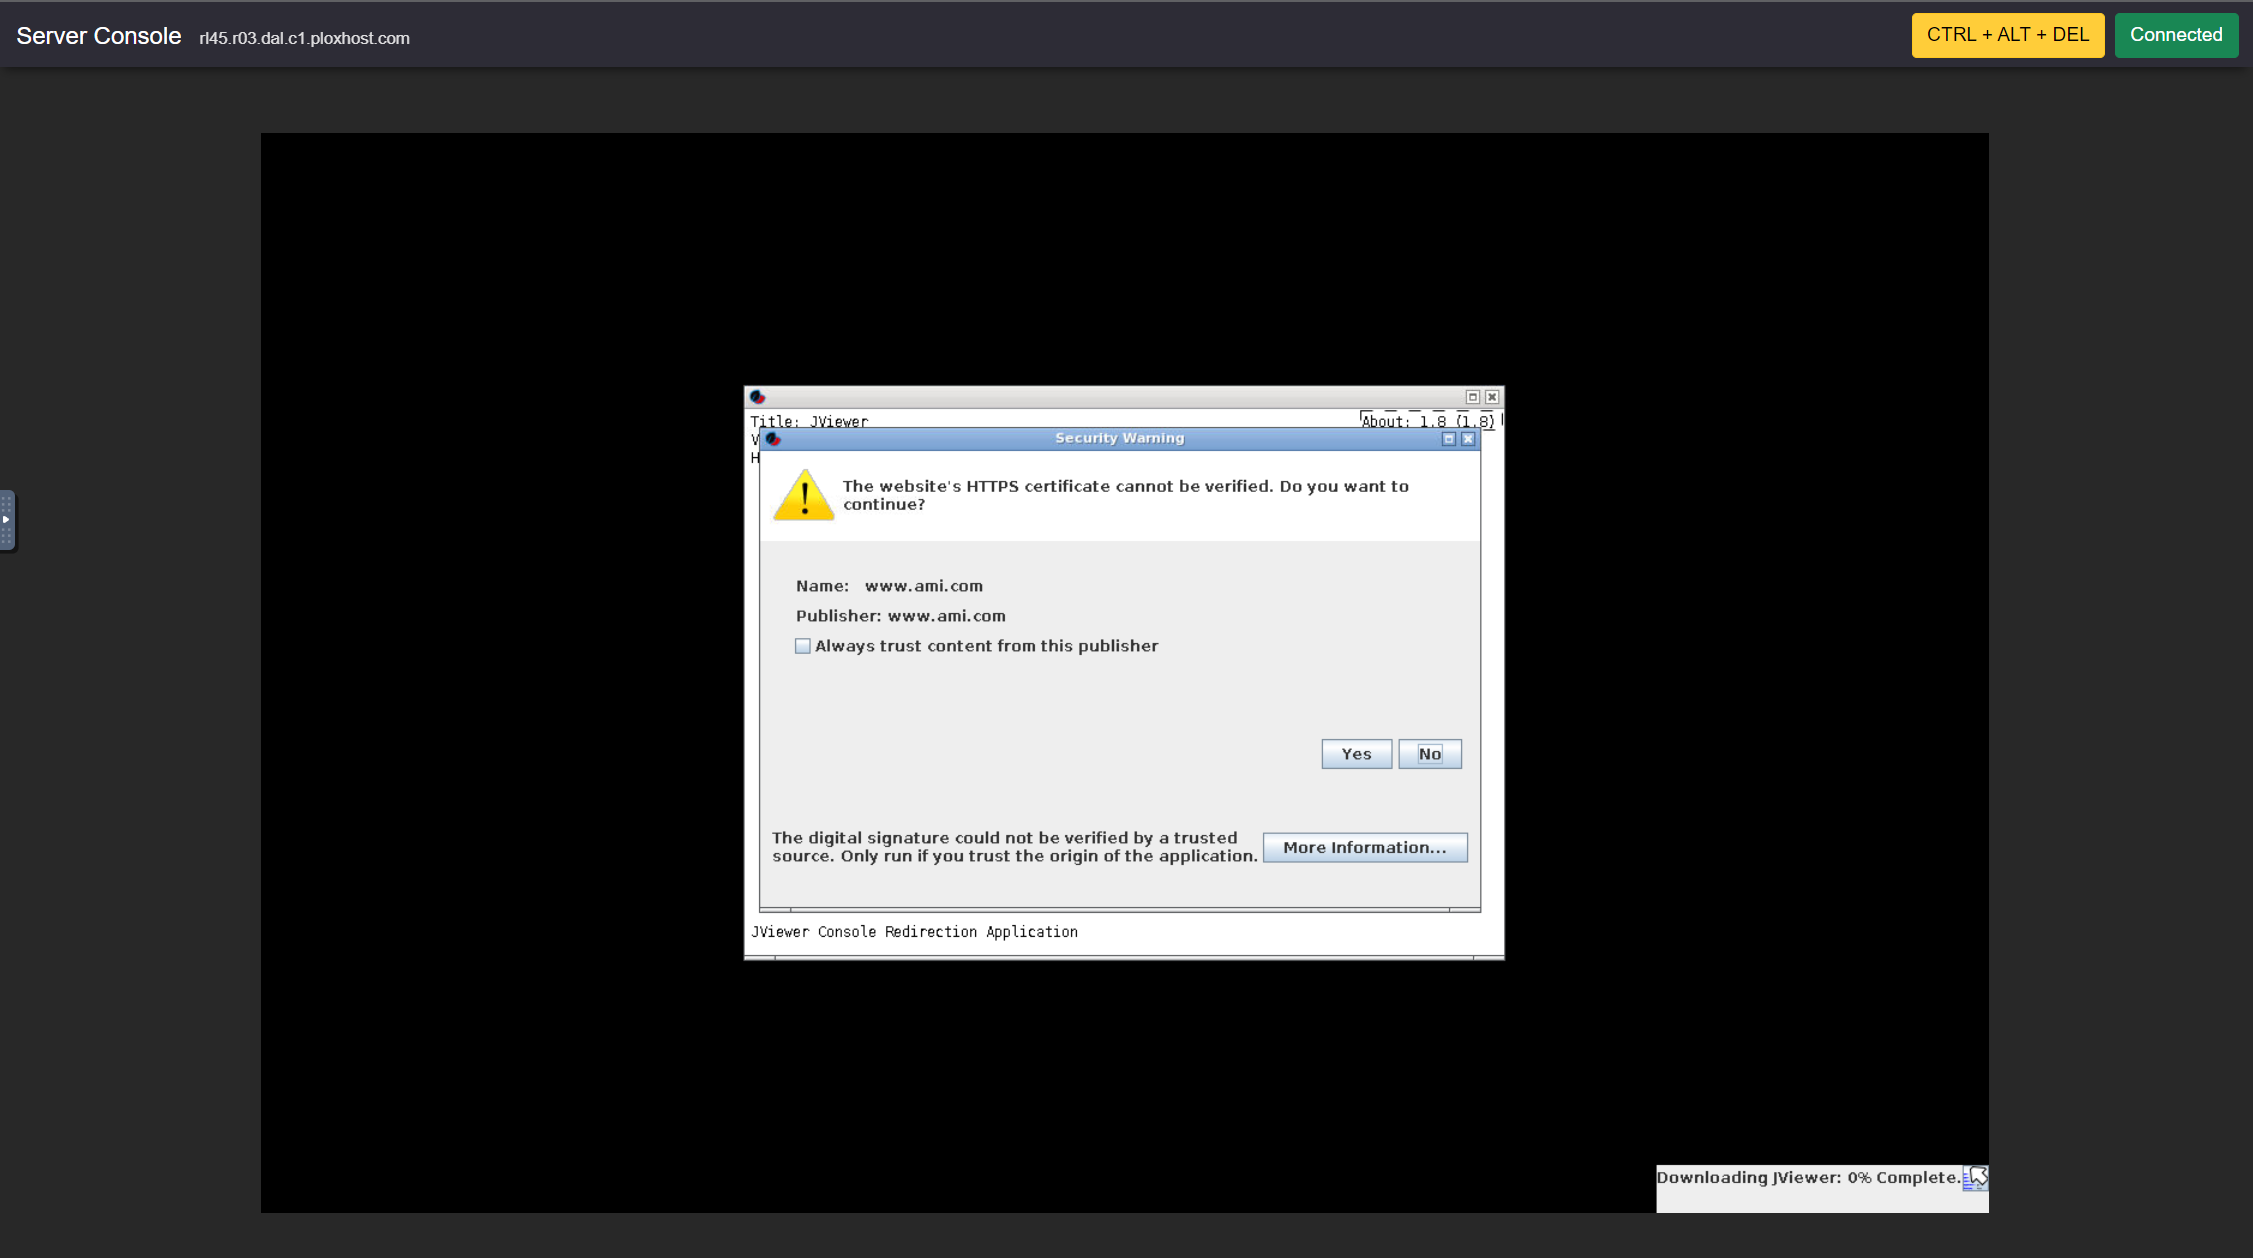
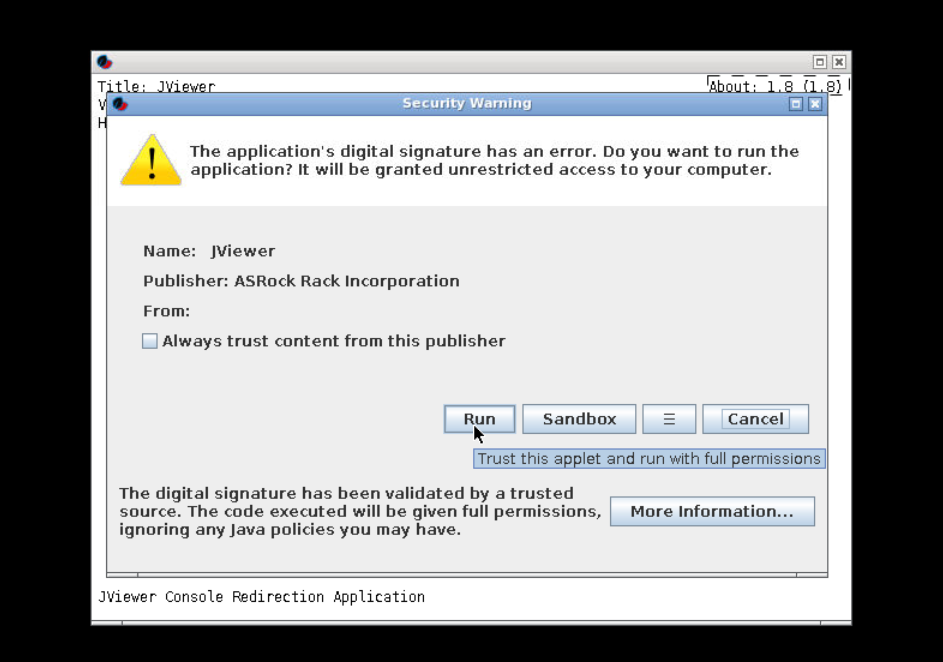
Press the Yes button on the popup, then press Run
After going through the prompts you will be left with an output of your servers console.
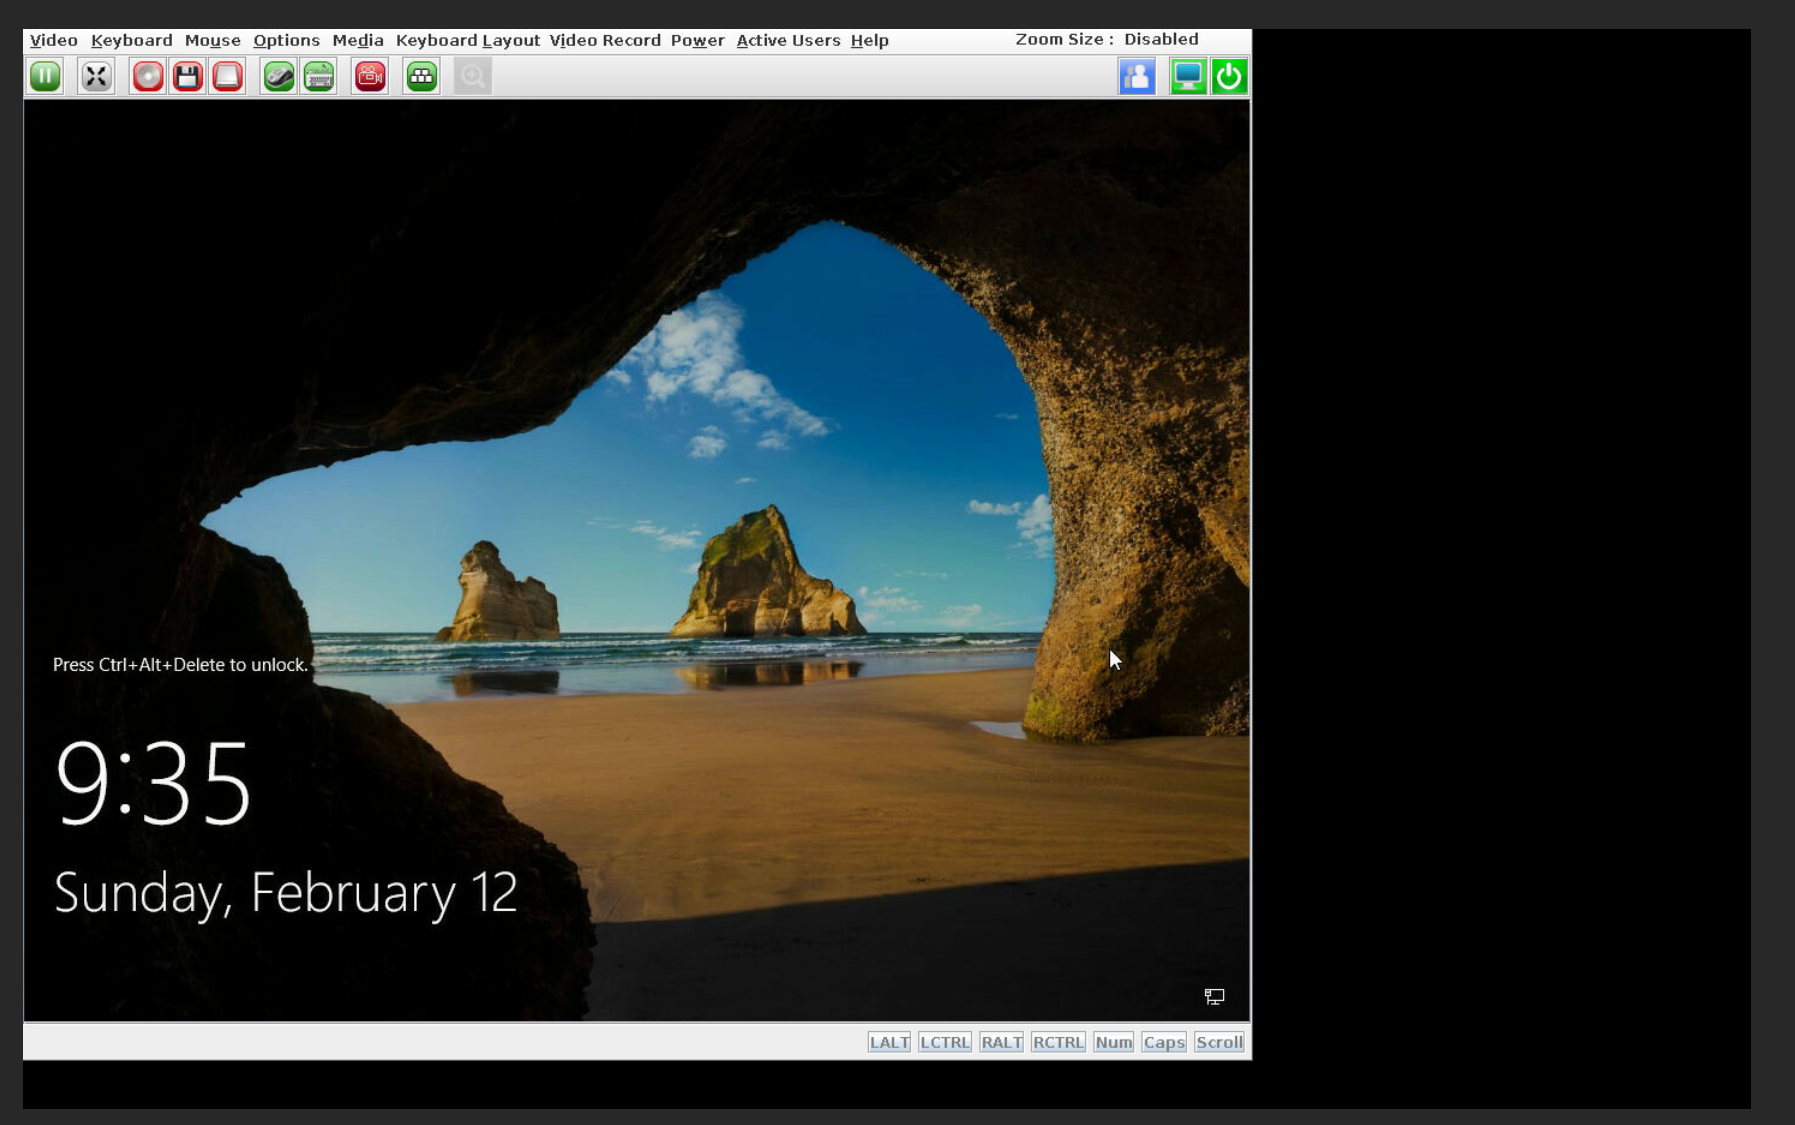
From here, you are able to manage and run different actions on your server.
Selecting an ISO via Virtual Console
If you are looking to install an Operating System via the IPMI Virtual Console, you are able to do so.
By default, we will supply you with Netboot, which is a swiss army knife of installers.
These steps will vary server by server. Please contact us if you are having troubles.
Press the Virtual Media -> Connect Virtual Media buttons

Go back to the dropdown, and press Map CD/DVD
Press Browse on the popup then within the directory go into ISOS and finally select the ISO you are wanting to attach.
noteIf you are wanting a custom ISO uploaded, please contact us
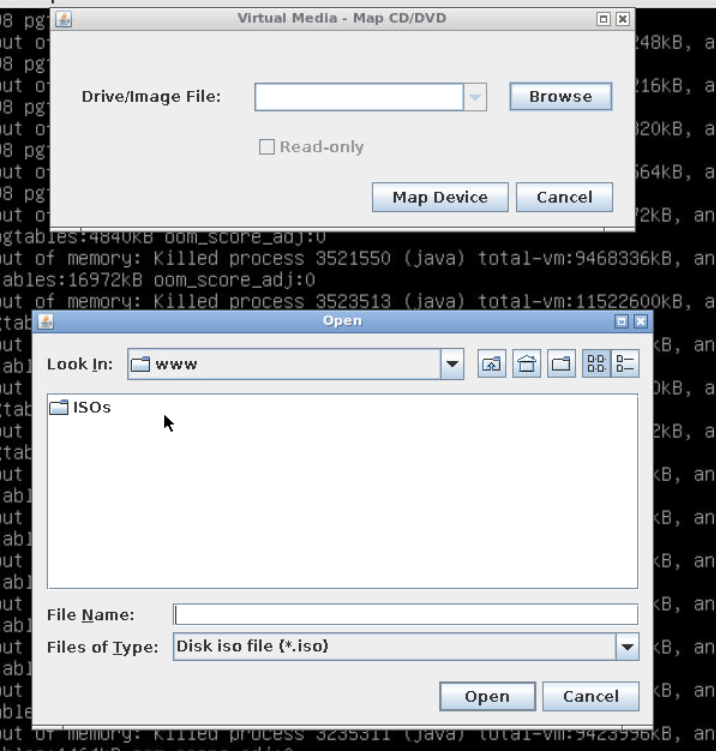
Press Map Device
Finally, you are able to reboot your server, and select the correct boot option via the Boot Menu. This is typically the hotkey F11